How to Upload Bills/Invoices in Docyt
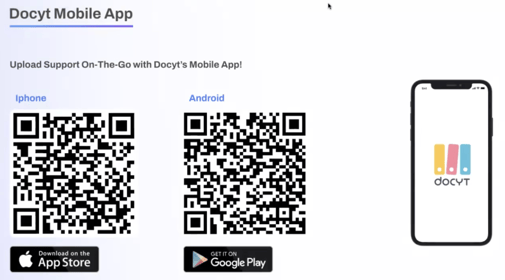
Docyt's mobile app makes it easy to scan and upload invoices in businesses, and the feature is available on both iOS and Android devices.
Uploading bills/invoices to Docyt is easy and efficient and can be done using different methods. Let's walk you through them.
A. Upload Bills/ Invoices Using the Docyt Mobile App
B. Upload Bills/ Invoices Directly to Your Invoice Queue
C. Email Bills/ Invoices to Docyt
A. Upload Bills/ Invoices Using the Docyt Mobile App
For a more portable solution, use the Docyt mobile app to upload invoices:

- Open the 'Docyt Mobile App' on your mobile device and log in.
- Tap on the "+" button at the bottom of the screen in iOS or the Camera icon in Android, as per your mobile, to take a photo of the receipt.

(iOS View) (Android View)
- Tap on 'A/P Invoice' from the list that pops up for sending photos of bills/invoices that will be taken in the next steps to 'Invoice Queue' in the Accounts Payable module of Docyt.
(iOS View) (Android View) -
Align the invoice within the camera frame, making sure it is fully visible and legible, and take a picture by tapping on the white circle at the bottom of the screen.

-
After you take the photo, you can adjust the image by dragging the dots on each corner of the square to adjust its size and position it over the area of the image that you want to keep. Once you have adjusted the image, tap on "Accept Scan" to proceed.
.png?width=380&height=492&name=iOS(1).png)
- Repeat steps ‘4’ and ‘5’ if there are more invoices to scan; otherwise, click "DONE" after scanning all the invoices.

- If you have more than one business in Docyt, tap the name of the business you are adding the invoice for.

(iOS View) (Android View) - “Document is being uploaded” progress bar will be displayed. Wait until the progress bar completely turns blue.

- A success message will appear when invoices are sent to the “Invoice Queue” of the particular business selected.

B. Upload Bills/ Invoices Directly to Your Invoice Queue
You can also upload bills/ invoices directly to your invoice queue. Here's how:
- Log into Docyt.
- Select Expense Management > Accounts Payable > Invoice Queue.

- Click on 'Add Invoice'.

- Drag and drop your invoice documents into the invoice queue. Click 'Save & Close'.

- The invoice will be added to the invoice queue, and its relevant data will be automatically extracted by the Docyt AI.
C. Email Bills/ Invoices to Docyt
1. Notice the email address on the left side of the Accounts Payable module in the Docyt web app. It is the email address at which if you email an invoice, it will be added to the invoice queue of this business.
2. Click on this email address to copy it.
3. Compose an email from your email account, paste the above-copied email address in the recipient address field, attach the invoices to that email, and send that email. In a few seconds, that invoice will be added to the invoice queue of the business, and its data will be automatically extracted.
Regularly uploading your bills/invoices to Docyt is crucial for maintaining accurate and up-to-date accounts payable and obtaining a comprehensive overview of your business expenses. This ensures that your financial records are easily accessible whenever you need them.
If you have any questions or need assistance, our support team is always here to help.