
Table of Contents
A. Upload a Receipt in the Web AppB. Add Receipts via Email
A. Upload a Receipt in the Web App
Docyt makes it easy to drag and drop your receipts.- Log into Docyt: Access Docyt by logging in to the web app. Link here.
- To access the Receipt List, go to the top header menu and click 'Expense Management'. Select 'Receipt Box' from the dropdown menu and choose 'Receipt List' to view all your receipts.

- Click the blue "+" button to add a new receipt.

- Drag and drop your receipts or click on 'Select from your computer' to browse and select the file you want to upload.
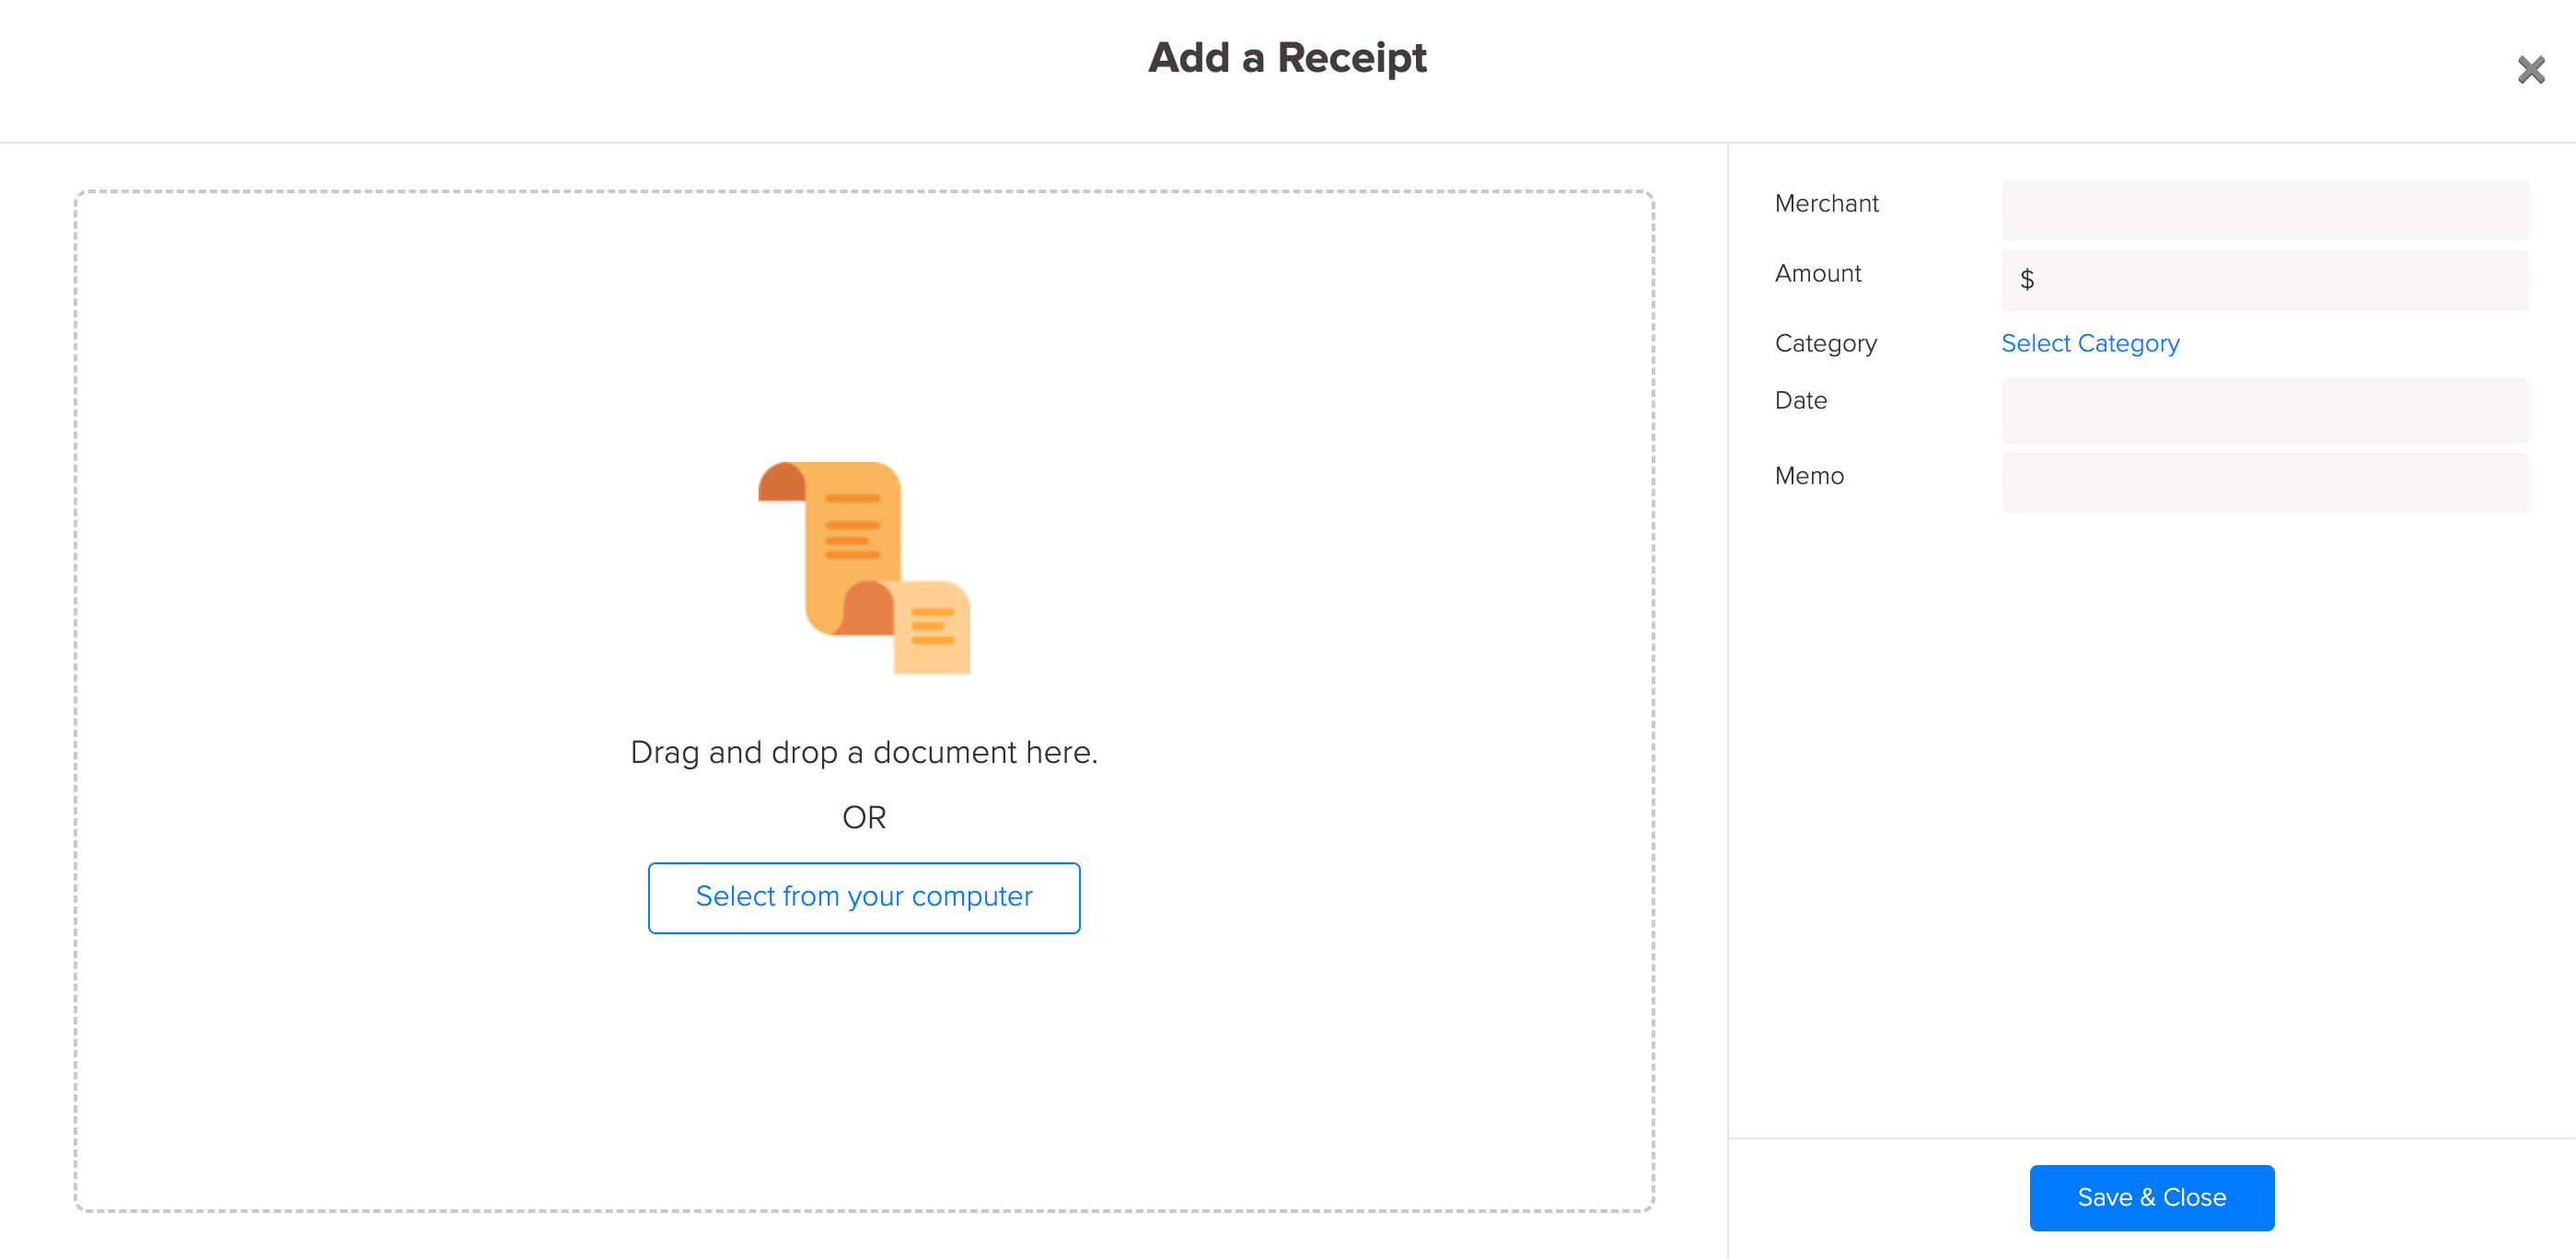
- Click 'Save & Close'.
Upon uploading a receipt, Docyt's AI engine automatically extracts critical data such as the merchant's name, amount, and date. This eliminates the possibility of human error during manual data entry and streamlines the receipt upload process in Docyt.
B. Add Receipts via Email
Docyt provides a custom email address that allows you to send receipts directly to your receipt box. You can follow the directions below to locate your unique receipt box email address.
- Log into Docyt: Access Docyt by logging in to the web app. Link here.
- To access the Receipt List, go to the top header menu and click 'Expense Management'. Select 'Receipt Box' from the dropdown menu and choose 'Receipt List' to view all your receipts.
- Click on the blue email button to copy your unique receipt box email.

- Compose an email from your email account, paste the above-copied email address in the recipient address field, attach the receipts to that email, and send that email. In a few seconds, those receipts will be added to the receipt list of the business, and its data will be automatically extracted.