

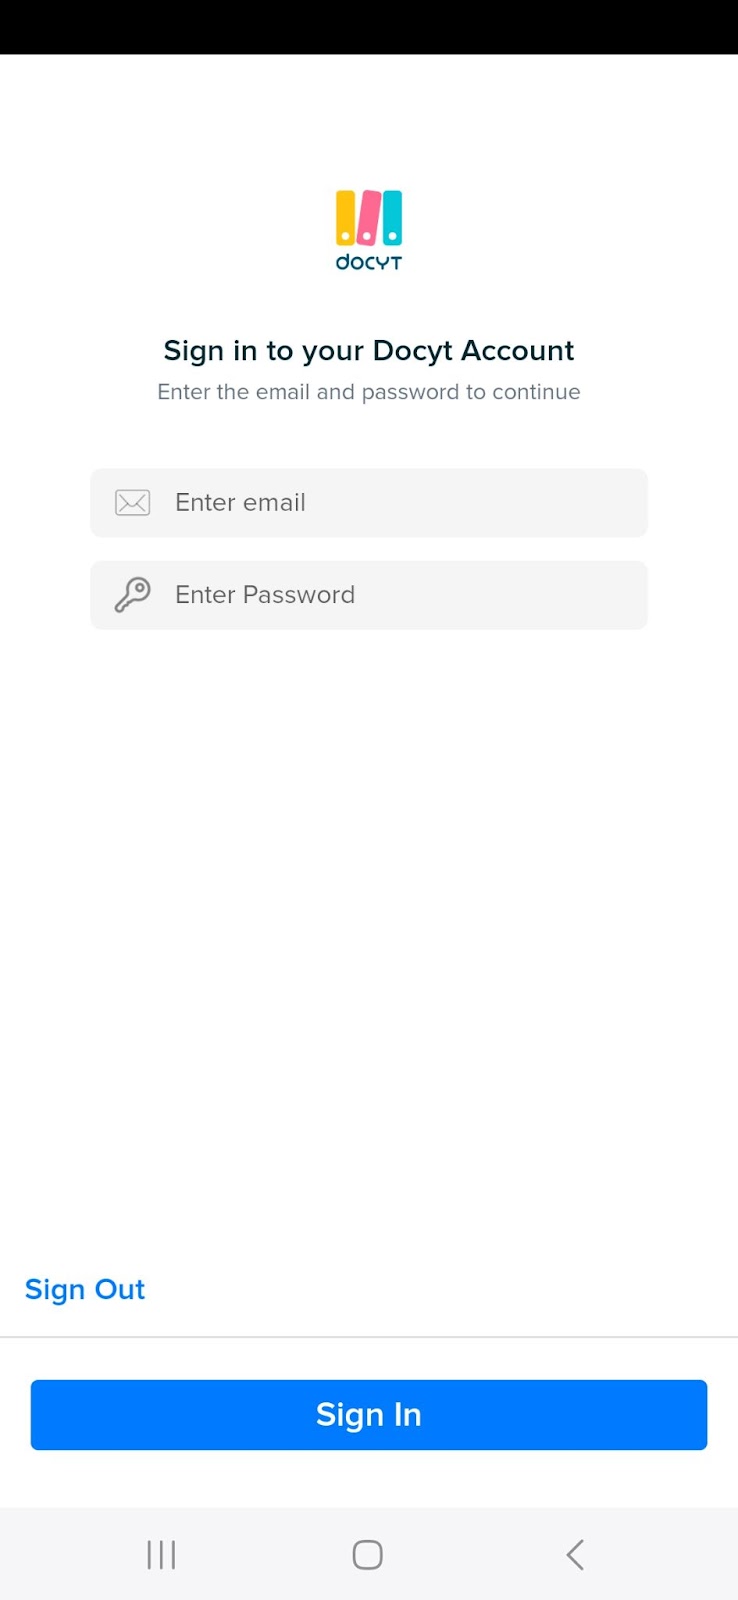
- Open the 'Docyt Mobile App' on your mobile device and log in.
- Tap on the "Camera" icon at the bottom of the screen to take a photo of the receipt.

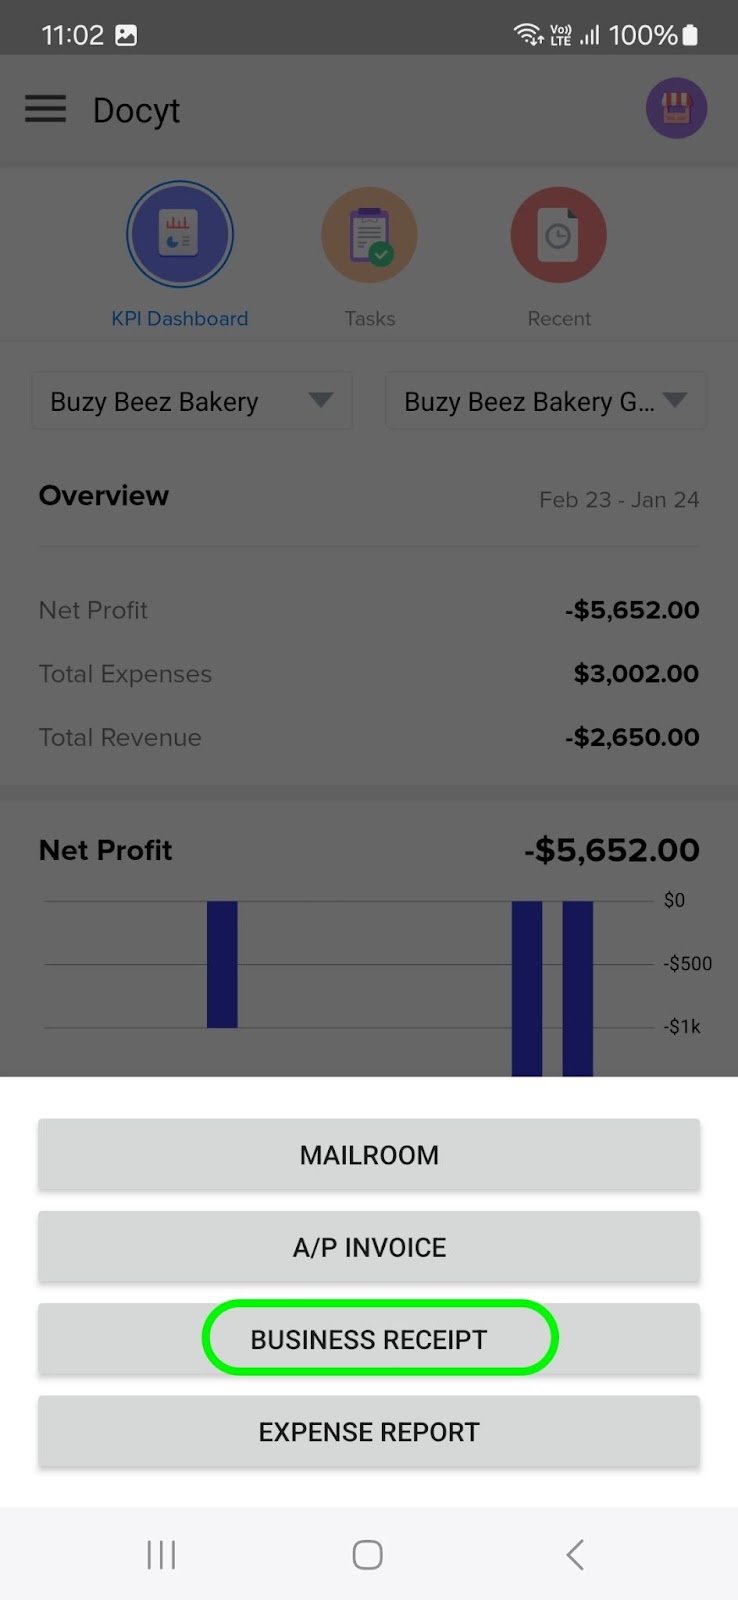
- Tap on 'Business Receipt' from the list that pops up for sending photos of receipts that will be taken in the next steps to 'Receipt List' in the Receipt Box module of Docyt.
Note: If you are uploading receipts as a part of your expense report for reimbursements, tap "Expense Report" instead of "Business Receipts".
-
Align the receipt within the camera frame, making sure it is fully visible and legible, and take a picture by tapping on the white circle at the bottom of the screen.

-
After you take the photo, you can adjust the image by dragging the dots on each corner of the square to adjust its size and position it over the area of the image that you want to keep. Once you have adjusted the image, tap on "Accept Scan" to proceed.
.png?width=380&height=492&name=iOS(1).png)
Users can also upload the images anytime from the gallery by clicking the gallery icon available on this screen.
- Repeat steps ‘4’ and ‘5’ if there are more receipts to scan; otherwise, click "DONE" after scanning all the receipts.

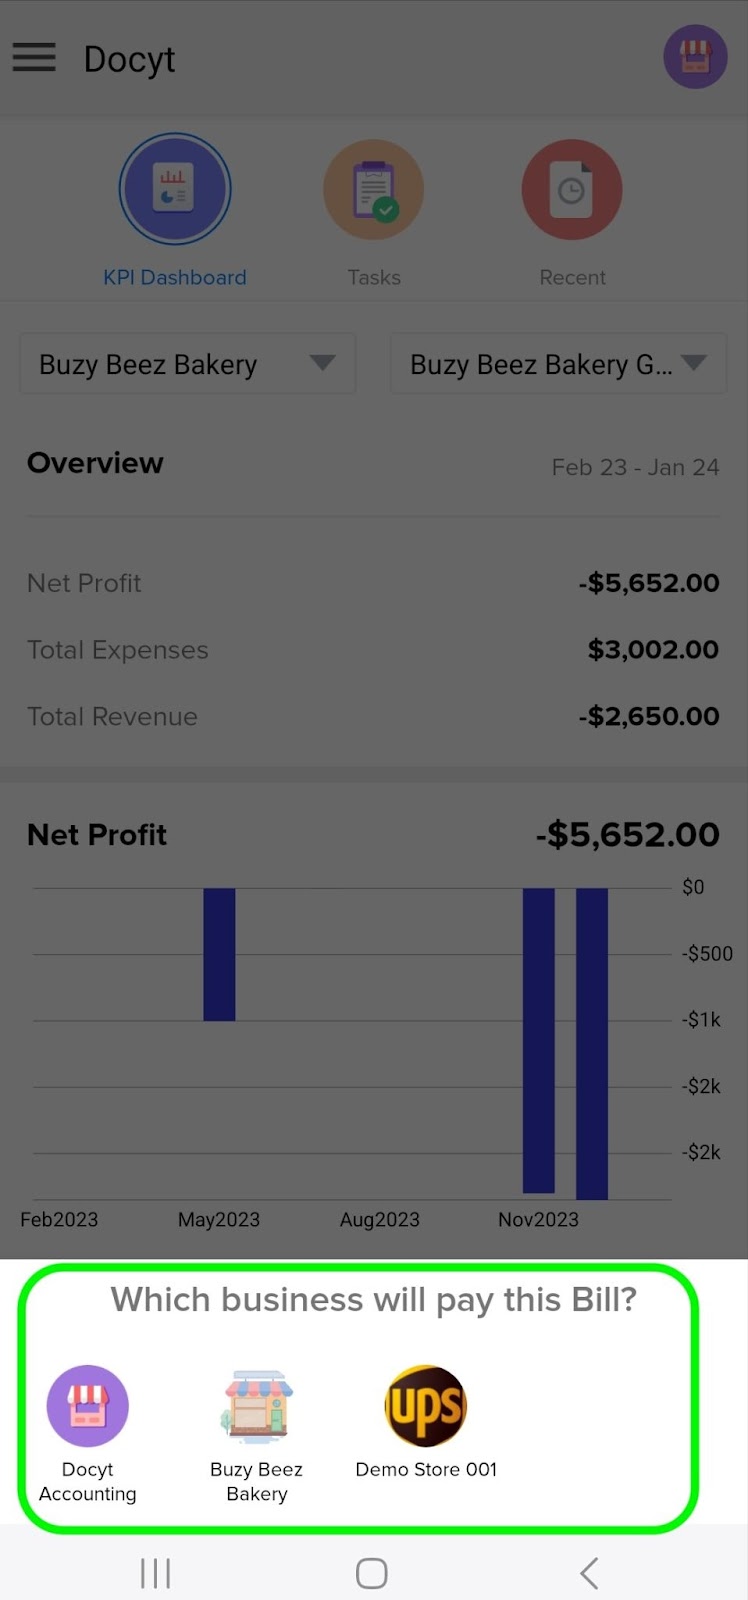
- If you have more than one business in Docyt, tap the name of the business you are adding the receipt for.
- A text box to add “Memo” related to receipt will be displayed. Update the memo field if you want to add a note or description of the receipt. Tap “Skip” if you do not want to add any text. If you added text, then tap “Save”.

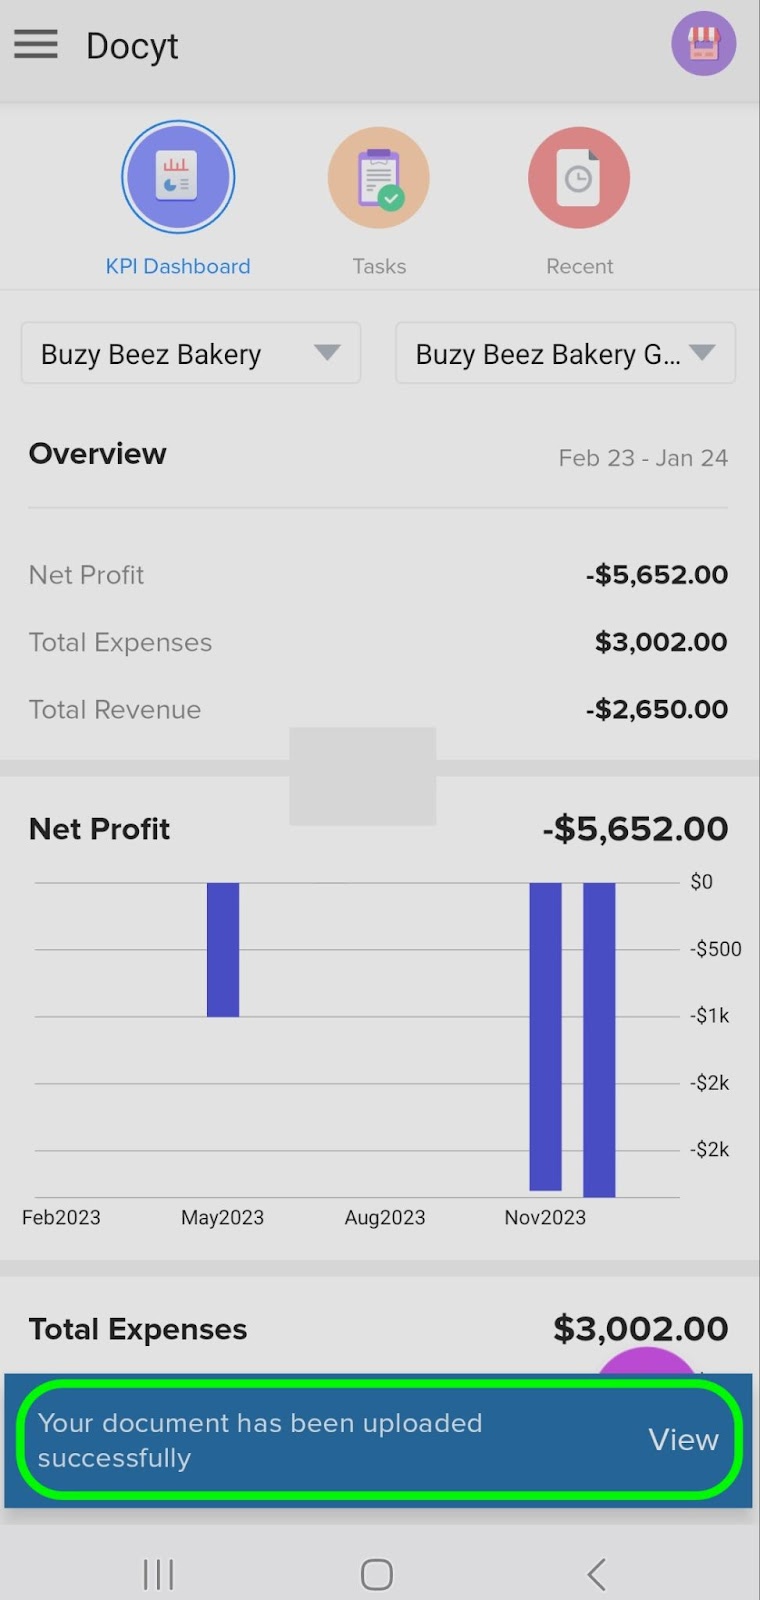
- “Document is being uploaded” progress bar will be displayed. Wait until the progress bar completely turns blue.

- A success message will appear when receipts are sent to the “Receipt List” of the particular business selected.
Note: While uploading a document in the mobile app, users with "None" permission for a specific business should not be able to view that business.
Permission: None for Business Receipt. For this visit Business Settings → Business Employees.
Search the user and select the Business Receipt user permission as "None".

Once the role is set to "None," users will no longer have access to view the Receipt Box functionalities. Please refer to the accompanying screenshots for clarification.
User won't be able to access the receipt box module as shown in the Android mobile app view.
