Table of Content
A. Approving Receipts in Docyt
B. How to Flag a Receipt for Client Review/ Additional Information
A. Approving Receipts in Docyt
- Log into Docyt: Access Docyt by logging in to the web app. Link here.
- To access the 'Receipt List', go to the top header menu and click 'Expense Management'. Select 'Receipt Box' from the dropdown menu and choose 'Receipt List' to view all your receipts.

- You can select the receipt you want to approve by clicking on it.

- After clicking the receipt, a new window will open where necessary information from the uploaded receipt will be visible. This includes the merchant's name, the amount spent, the expense category, and the transaction date (Please review and add any information manually if not automatically captured by Docyt AI).

- Docyt's intelligent system offers a helpful feature called 'Possible Payment Match' to assist you in quickly finding the corresponding transaction from the bank feed. It is essential to ensure that the transaction aligns with the same receipt. Ensure alignment between the receipt and bank transaction dates, allowing for a day or two difference due to bank recording lags. Once accurately entered all the necessary information, click the 'Approve Receipt- Review Next' button. Reconcile Documents: Finally, match your approved receipts with transactions in the reconciliation center to prevent duplicate expense records in QuickBooks.
- Once the receipt has been approved, it will be moved to the 'Approved' tab from the 'Uploaded' tab for convenient reference and organization.

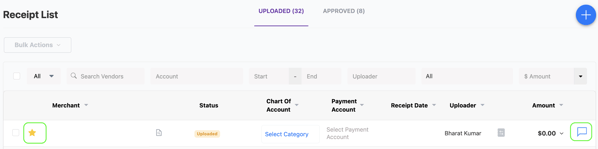
1. To flag a receipt for client review, go to the 'Receipt List' in the Receipt Box module. You can find the receipt you want to flag and click on the 'Star' icon at the beginning of the receipt row. At the end of the row, you will see a chat icon. This is where the Account Manager can ask the client any questions or request additional information. When the Account Manager clicks on the star icon, it will change to yellow, indicating that the receipt has been flagged for review.
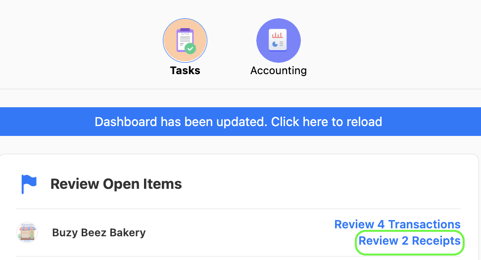
2. The flagged receipt will then appear in the client's 'Review Open Items' dashboard.